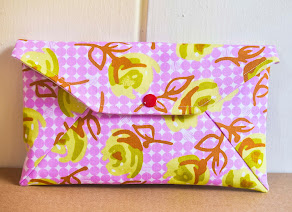
Friends, readers, total strangers,
A confession. I thought I knew a little about stamping as I had read up a tiny bit on it. I had drooled over stamps and stamping and ink and thought all I needed was the desire to learn.
As I found out at yesterday's rubber stamping workshop at The Little Happyshop, you need to be steady with your hands. Let me just say this first. I enjoyed the workshop a lot. It might not show on my face but I did.
Who is this homeless looking guy? (Just kidding, Joe) He's the rubber stamp guru - Mr Joe Chiang of Monster Gallery. Yep, this is the man. Honestly, I took a bad pic of him. I blame it on the light.
Here's a better shot of Joe. (I pinched the pic from his facebook.)
There were five ladies in the class. It was held at The Little Happyshop and it looked like a happy shop. I kinda felt happy when in the shop so it's a good name. Very good fengshui!
These are the essentials for the class - rubber, scraper, sharp pen cutter, tracing paper and dark pencil.
The easy part is transferring the image to the rubber. A reverse image is transferred. Must remember this. I had to do this twice because the first time my outline was too thin. So I got left behind! I'm the slowest "kid" in class. At some point during the lesson, I heard Joe saying "Let's wait for Jane!" hehehehe
Cutting the outline is the hard part. If you're a stamper you'll know about the valley you have to carve out. I'm quite clumsy and was a little nervous about hurting myself. At home when I cook, it's common to hear me yell out in pain. In fact, my kids are so used to it they won't come running unless I cry out "Help."
Where was I? Ah yes, the valleys. They are harder to cut then expected. So I cut and I cut and at the end, my result is quite crude. My lines are jagged when they should be smooth. Also, I did not taper the waste enough so the stamping gets additional lines. But I got the idea. I'm the sort who gets better with practice.
When I reached home, I worked on the stamp a little bit more and it looks a little better.
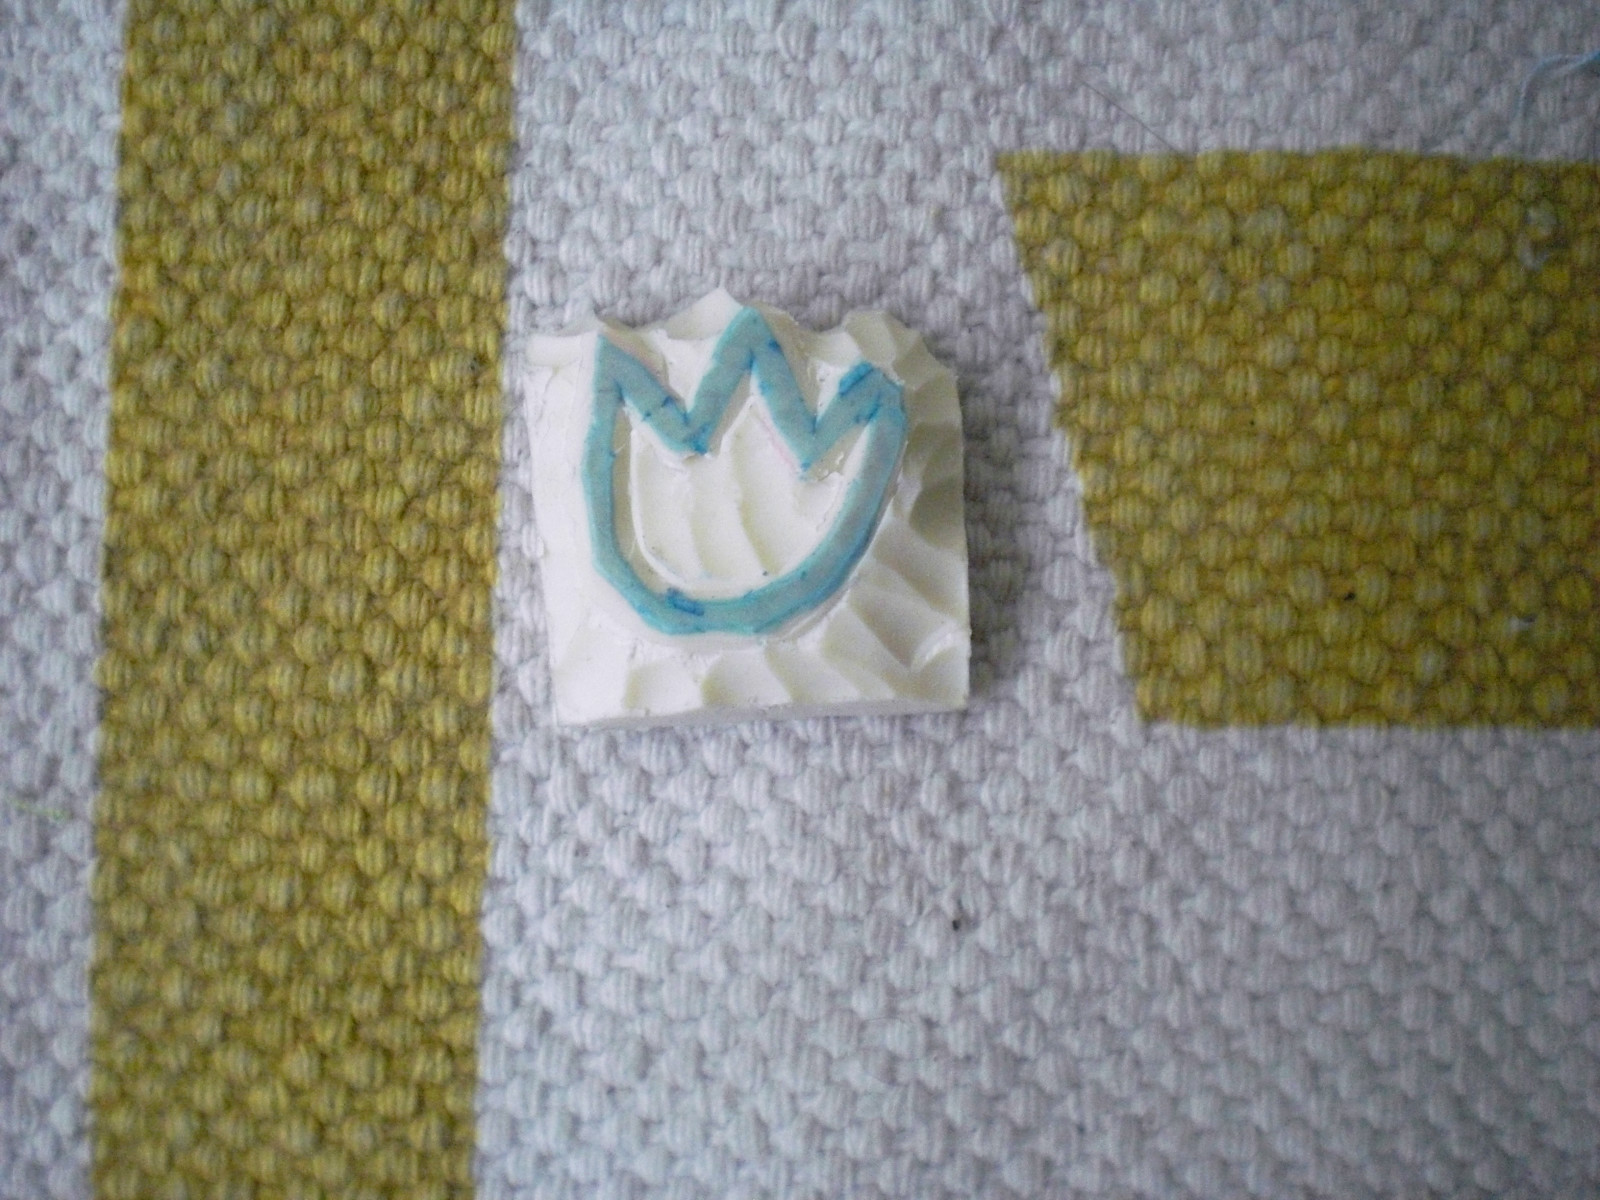
This morning I had a few minutes to spare and decided to work on a new stamp. I made a tulip because I like using tulips in my embellishment. It looks like a crown. I'm not even sure I've seen a real tulip. Well, a tulip is pretty easy to carve but I managed to not get the precise outline again. Much more practice is required. Once I get additional rubber, I'm carving every day.
Ah, a peek at my inspiration notebook. Meet Teddy, my new bear. I named it after a dog. I have limited ink colours . I would love turquoise, teal, red and hot pink. I settled for this dunnowhatkindofblue blue. The pink was too light.
I combined the stamped tulips with some embroidery. I'm soaking it to see if the colour fades. If it doesn't, it'll become a coin pouch. What do you guys think?
Sunday, October 16, 2011
Friday, October 14, 2011
This is how I draw and sew a bag dart
Today I'm going to show you an easy and primitive way to draw a bag dart. First of all, you must understand the purpose of a bag dart. It is to create volume so the bag won't look flat.
Two things to consider:
- size of dart
- position of dart
The size of your bag dart needs to be relative to the size of your bag. How pointy or long you want it is best decided by using a paper pattern and pinning it till you get what you want.
The position of your bag dart is best where the side seam meets the bottom.
Here's a demo on 2 of my bag patterns:
How To Draw A Bag Dart
All you need is a paper pattern, compass and a ruler. For this pattern, I want a dart with a width of 1" and the sides are 2" each. Note: The 2 sloping sides are always equal.
First, using the compass, mark 1" on the curved line where you want your dart to be.
Measure 2" with the compass and from one point of the dart width, draw an arc.
Use the compass to draw another arc from other point of the dart width. The 2 arcs must meet. From this meeting point, draw your sloping lines to each point of the dart width to form a triangle-ish shape.
I pulled this pattern from my recessed zipper shoulder bag tute. I wrote this tute in 2009 - blast from the past!
Because the side and bottom are not a continuous curved line, the width is marked differently. From the lowest point of the pattern on the right, mark 1.5" - one on the bottom and one on the side. From these, mark 1.75" arc. Where the arcs meet, draw 2 lines to each point of the dart width.
There are 2 ways which I have used to sew bag darts.
Cut Out Method
For this method, I cut the dart out of the pattern. Important to note that for this method, the size of the dart is minus the seam allowance.
To sew the dart, right side together, match the sloping sides of the dart. Sew dart starting from the widest part. Backstitch at both ends. I usually use a 0.25" seam allowance.
This is the method I usually use. Important to note that for this method, the size of the dart includes the seam allowance because you are sewing on the dart lines.
The dart lines are transferred to the fabric. I use a dressmaker's coloured pencil to mark the lines. Right side together, match the dart lines. Use a pin to match the lines. Sew on the dart lines starting from the widest part. Backstitch at both ends.
Lastly.....
- If you find your dart points are bulky after sewing, you can omit the backstitch at the pointy end and knot the thread manually.
- To reduce bulk for matching darts, iron darts seam in opposite directions.
I hope this is helpful to you. Leave a comment if you have any questions.
Two things to consider:
- size of dart
- position of dart
The size of your bag dart needs to be relative to the size of your bag. How pointy or long you want it is best decided by using a paper pattern and pinning it till you get what you want.
The position of your bag dart is best where the side seam meets the bottom.
Here's a demo on 2 of my bag patterns:
How To Draw A Bag Dart
Crescent bag pattern
All you need is a paper pattern, compass and a ruler. For this pattern, I want a dart with a width of 1" and the sides are 2" each. Note: The 2 sloping sides are always equal.
First, using the compass, mark 1" on the curved line where you want your dart to be.
Measure 2" with the compass and from one point of the dart width, draw an arc.
Use the compass to draw another arc from other point of the dart width. The 2 arcs must meet. From this meeting point, draw your sloping lines to each point of the dart width to form a triangle-ish shape.
♥ ♥ ♥ ♥ ♥ ♥ ♥ ♥ ♥ ♥ ♥ ♥ ♥ ♥ ♥ ♥
Recessed Zipper Shoulder Bag Pattern
I pulled this pattern from my recessed zipper shoulder bag tute. I wrote this tute in 2009 - blast from the past!
Because the side and bottom are not a continuous curved line, the width is marked differently. From the lowest point of the pattern on the right, mark 1.5" - one on the bottom and one on the side. From these, mark 1.75" arc. Where the arcs meet, draw 2 lines to each point of the dart width.
♥ ♥ ♥ ♥ ♥ ♥ ♥ ♥ ♥ ♥ ♥ ♥ ♥ ♥ ♥ ♥
How To Sew A Bag Dart
There are 2 ways which I have used to sew bag darts.
Cut Out Method
For this method, I cut the dart out of the pattern. Important to note that for this method, the size of the dart is minus the seam allowance.
To sew the dart, right side together, match the sloping sides of the dart. Sew dart starting from the widest part. Backstitch at both ends. I usually use a 0.25" seam allowance.
Old School Method
This is the method I usually use. Important to note that for this method, the size of the dart includes the seam allowance because you are sewing on the dart lines.
The dart lines are transferred to the fabric. I use a dressmaker's coloured pencil to mark the lines. Right side together, match the dart lines. Use a pin to match the lines. Sew on the dart lines starting from the widest part. Backstitch at both ends.
♥ ♥ ♥ ♥ ♥ ♥ ♥ ♥ ♥ ♥ ♥ ♥ ♥ ♥ ♥ ♥
Lastly.....
- If you find your dart points are bulky after sewing, you can omit the backstitch at the pointy end and knot the thread manually.
- To reduce bulk for matching darts, iron darts seam in opposite directions.
I hope this is helpful to you. Leave a comment if you have any questions.
Tuesday, October 11, 2011
Tale of one mole
So, today was the day. Me hubs got a little nervous.
Goodbye mole. Me hubs regretted not plucking the mole hair.
The waiting area is nice with running water and fish to calm the nerves. Don't want any patients to flee!
I don't think the clinic is prepared for Big Foot. (I got to wear the plastic bags over my sandals too!)
In the studio for a Before photo. The photographer didn't say "smile".
The doc is just giving jabs to numb the skin. Me hubs acted like a baby and asked to be put to sleep. The doc declined
We had to wait a short while before the doc start CUTTING the mole out. I think me hubs is stoned. (on imaginary drugs)
I didn't get to witness the actual surgery. It was over very quickly. The bandage gave me a fright though. Can you imagine how scary he would look if he had removed all 3 moles at once?
We got to bring home the excised mole. The hair is still intact. I knew the kids would be grossed out. Couldn't wait to show them! It'll be one week before the stitches come off and we can see what the scar looks like.
Exciting day for me. Now, you all remember why you came to my blog in the first place? Yes, my bags. I have one to show you.
It's another of my one-ring wonder bag. But look at the gorgeous blue. Another cotton canvas from kiyohara.
It's the bottom shot again! I'm getting just a tiny bit tired of making bottoms this way.
It's a recessed zipper bag. If you're wondering what the bit of red in the lining is, it's the pocket. See you guys real soon.
Subscribe to:
Posts (Atom)