Last week for three afternoons, I attended a class to bake Artisan Bread. Before I signed up, I checked if there were any per-requisites and was assured there was none. On Day 1 of the class I discovered two things. One, only three people including myself had signed up for the class. Two, the teacher was expecting participants to have attended a basic bread class. Oops. Luckily, the other girl in the class was in the same boat as me. We were self-learners, watched a lot of youtube videos and had baked a number of loaves of bread at home. Still the teacher was concerned as he was worried we would not be able to understand bread making terms and have difficulty following the class. Anyway, as it turned out, us ladies were pretty damn well read. The other participant, a guy had already attended bread courses before.
In case you're wondering, this class was not funded by the government. Unlike the WSQ baking classes which were funded, this one I paid for it.
The teacher is someone who had taught me before in my Basic Cake class. One thing I like about him is he speaks good English. If I have to listen to another
Chinese Helicopter...
Before I went for the class, I had thought Artisan Bread meant there is a lot of handwork involved. Indeed, the teacher did mention that Artisan Bread means made by hand but strangely, the dough development was done exclusively by machine. We only shaped and scored by hand. In that respect, I was quite disappointed.
The class covered 3 types of bread and we baked one a day. The first one was multigrain bread. This one we did not use any preferment. I guess it's because it's the first bread and we weren't there to prepare any. However, the multigrains were soaked in water for us because you can't use multigrains as is. For those of you who do not know what a pre-ferment is, it's just water, flour and a little yeast you mix together and refrigerate overnight. Remember Alex Goh's
Magic Bread and 65 degree Celcius
tangzhong? They are also pre-ferments.
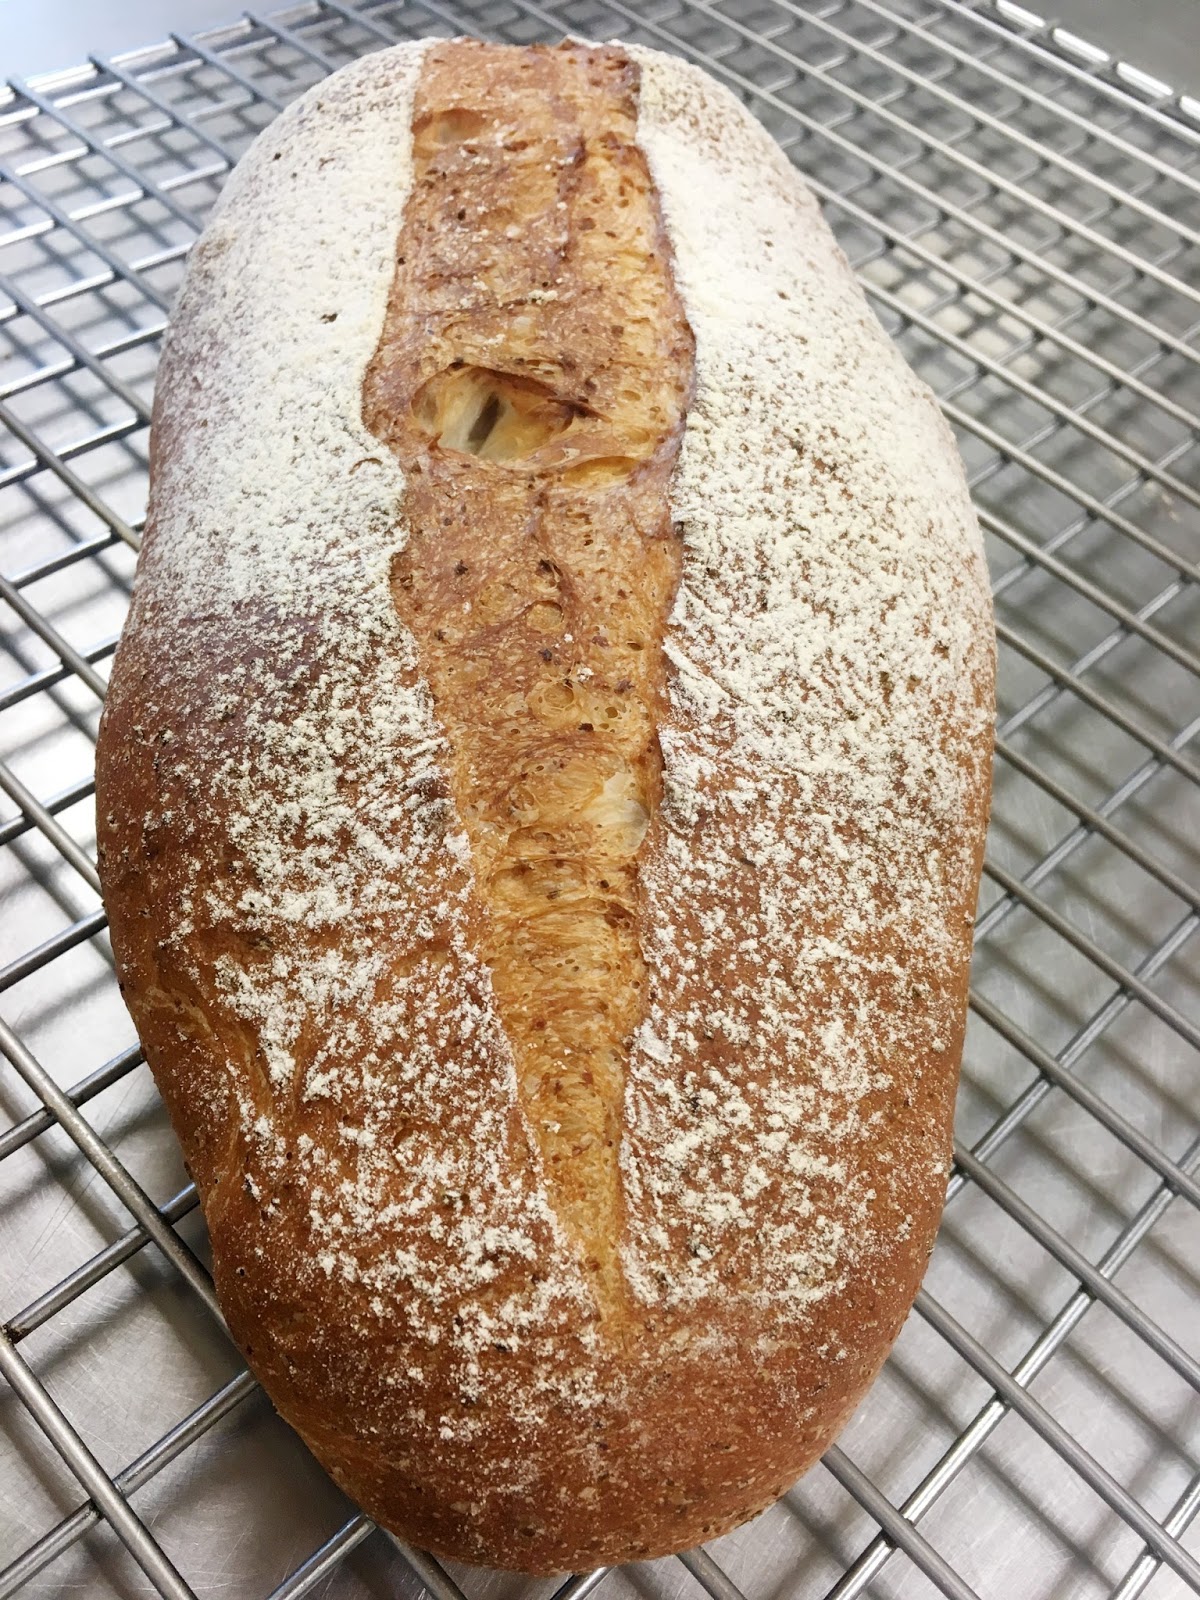
This was how my multigrain bread turned out. It looks great doesn't it? But I did have some trouble shaping the batard. Oh, I realised that previously for every loaf of bread I've baked since I started baking bread in November last year? My windowpane was done haphazardly. The teacher said I didn't really know how to stretch the windowpane and he showed me how. This means that in my future bakes, I could achieve the windowpane much earlier because I had been under stretching. By the way, the multigrain bread tasted fantastic. Hubs really liked the grains and in future when I make this bread again, I will push the grains percent up.

Another thing new to me is there is low sugar instant yeast and high sugar instant yeast. I've always assumed there's only one kind of instant yeast. Apparently, you use high sugar instant yeast for bread recipe with higher than 10% sugar content. I'm not sure if Alex Goh's Magic Bread sweet dough meet this criteria so I may have to investigate. I'm so excited about this new angle.


Day 2 we baked wholemeal bread. On Day 1, we prepared the poolish (pre-ferment) required for this recipe. Poolish uses a ratio of 1 part water to 1 part flour. The purpose of poolish is to create better taste and texture in the bread. When we mix the dough on Day 2, we just add the poolish to everything else and let the machine do the work. I was a little disappointed that we shaped batard on Day 2 which is the same as Day 1. Having said that, I still struggled with shaping the batard. My wholemeal bread was actually slightly overproofed. I blame it on the teacher. I wanted to take my dough out of the proofer but he said to wait. Still the result wasn't too bad. The inside was a little too soft for my liking. Unlike the multigrain bread, the wholemeal bread was tasteless.

Day 3 was pretty exciting mostly because we got to use the banneton which is a proofing basket. You see the ridges of the cane? Bread flour is dusted over it and the flour on the ridges will cling onto the dough and create patterns.
The rye bread uses a poolish as well and we used German rye flour.
The shape is called boule and I found that I'm not too bad at shaping round shapes. After removing the dough from the proofer I discovered the bottom of my boule looked a bit odd. However, during the baking process everything got straightened out.
I had fun scoring the dough. The spiral is a bit harder. I think my rye bread turned out superb although one little criticism. An extra minute in the oven would have achieved the perfect colour.
I know there is no way I can make bread at home the exact quality achieved at the baking school. This giant cupboard is a proofer and it is kept at 34 deg C with 90 deg C humidity. We proofed our bread inside. At home I'm at the mercy of Singapore weather. I proof on my dining table. The ovens also make a big difference. There is a button to inject steam. At home, I guess I could do a small steam bath but I think of the danger as I am so careless.
Still I think having gone through the class, I have become a tiny bit better at baking bread. I will bake a loaf soon once we finish eating all our bread. I brought home six loaves of bread and we have already eaten three loaves. Frankly, we are a bit sick of bread now. Next on the list: attend a basic bread class to learn shaping. I'm doing this backwards, aren't I?