In the old days, Chinese babies wear a gold anklet and it has a little bell so the mom could be alerted when the baby's awake. My mother told me that I was her only baby to get a gold anklet because after I was born she bought lottery using some numbers associated with my birth and won some money. The thing is I don't remember wearing the anklet. My mother probably kept it locked in her treasure chest. I can't remember what happened to the anklet either.
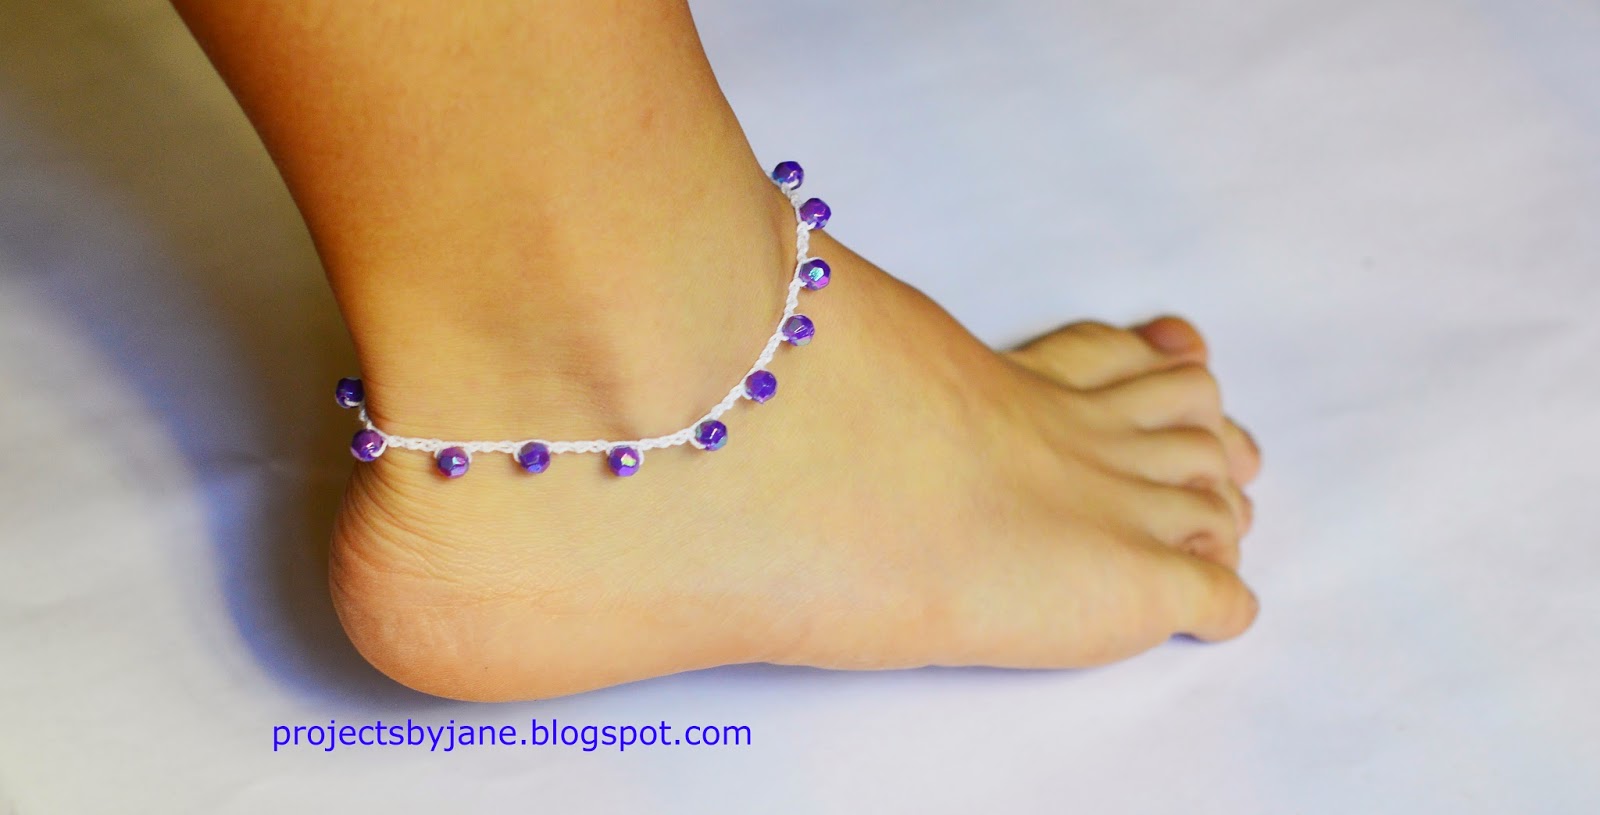
Anyway, my mother told me the story of how I got to own the gold anklet so many times I subconsciously have a thing for anklet. Some time ago, I made two crochet anklets for myself using some leftover purple beads. You know something about beads? You always buy more than what you need but in the end, you can never get rid of all of them. So making these crochet anklets was part of my continuing effort to use up all my purple beads plus that anklet thingy I have on account of my mother's numerous story telling sessions.
I used a white crochet cotton thread for one of the anklet and for the other one, I used a multi-coloured tatting thread.
The white one looks sweeter, I think.
This anklet is very simple. It uses only 1 crochet stitch - the chain stitch. To make a bracelet, use the same formula but of course measure against your wrist instead of your ankle.
If you would like to make one, here's how:
Step One
String all the beads required onto your yarn. Here I'm using a waxed cotton to demo. Ordinarily I would use a crochet or tatting thread. If you want your beads to be in some order, like according to colour, you would need to string them in the order you want. Always string more beads than what you think you need.
Step Two
Leave a 5" tail and make a slip knot.
Step Three
Make four or five chain stitches.
Step Four
To add a bead, let one bead slide all the way until it rests against the crochet hook. Yarn over and pull stitch all the way through the loop.
This is what you should get. Bead is secured. Note that some of your beads are likely to face different directions. You can try to keep your yarn untwisted when crocheting but I'm perfectly okay with it.
Step Five
Make x number of chain stitches. This is your spacing between beads. Add another bead and continue until you have enough length to go round your ankle or wrist.
Step Six
For closure, I use the beginning tail to tie onto a lobster clasp. No fancy stitching. Just 2 dead knots and a dab of super glue to hold the knots. For the ends, I crochet enough chain stitches to make a loop. At this point you want to try it on for size and add/undo the chain stitches until you get it right. To secure the loop, just end off and tie the tail to a chain stitch. Double knot and add a dab of super glue.
Link Partay: Sew Many Ways
Thursday, March 5, 2015
Subscribe to:
Post Comments (Atom)


2 comments:
Jane! I love this so much! I'm definitely going to try to make some of my own! Thanks for the idea!
That's a cute little bracelet/anklet - the beads are a great touch :) Easy too for people (like me) who can't crochet, but who can at least do that chain stitch (when my hands aren't too grumbly, LOL) :)
Post a Comment