Saturday, October 30, 2010

Perfect Size Fat Bottomed Drawstring Pouches

Last night I went to bed feeling sick to my stomach. No, it's nothing serious. I just found out Gretchen won Project Runway. It's so wrong. I just want to tase Nina and Mr Kors. I know it's just television and I shouldn't feel so strongly that it affects my real being but I so wanted Mondo to win.

So no surprise. Today is a cold dreary day. It's been like that for a while now. I wake up shivering and have to shuffle around in my sweaters until I get warm enough to look like I live in a hot country. I think it's just me feeling the cold because I don't see anyone else dressed for winter. I dread the cold rainy weather because it makes my body all knotty. My muscles just won't unknot. I know part of it is psychological but it's still very hard to feel positive especially when I try to take pictures and the sky is just grey. I just want to tase myself.

On a positive note, my kids' exams are finally over and it's such a relief to stop having to watch over them like a hawk. This is the part of parenting I dislike the most - getting the kids to study for the exams. My son did average - no surprise. He barely touched his books. Another reason I'm glad exams are over is I have a neighbour who lives in the next block and she tutors her kid AT THE TOP OF HER VOICE every single night. Her screaming and shouting causes me a huge amount of stress. Every night, I just want to tase her.

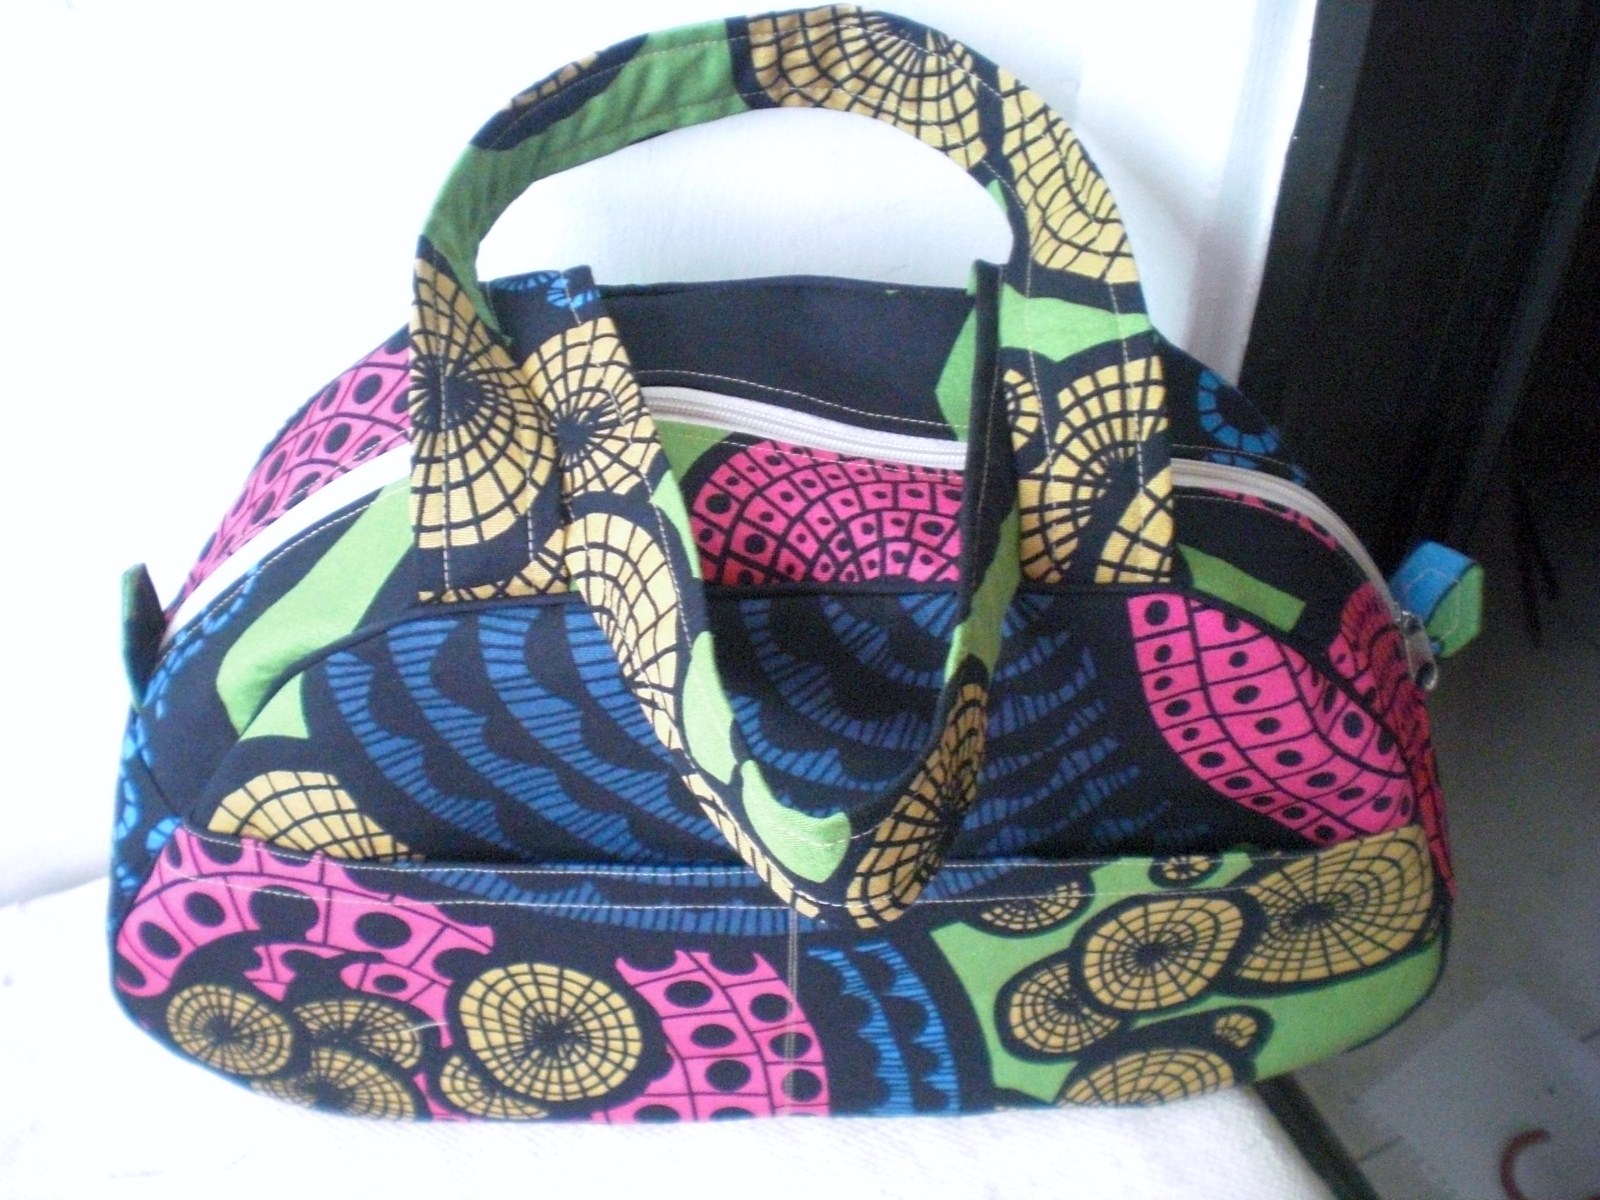
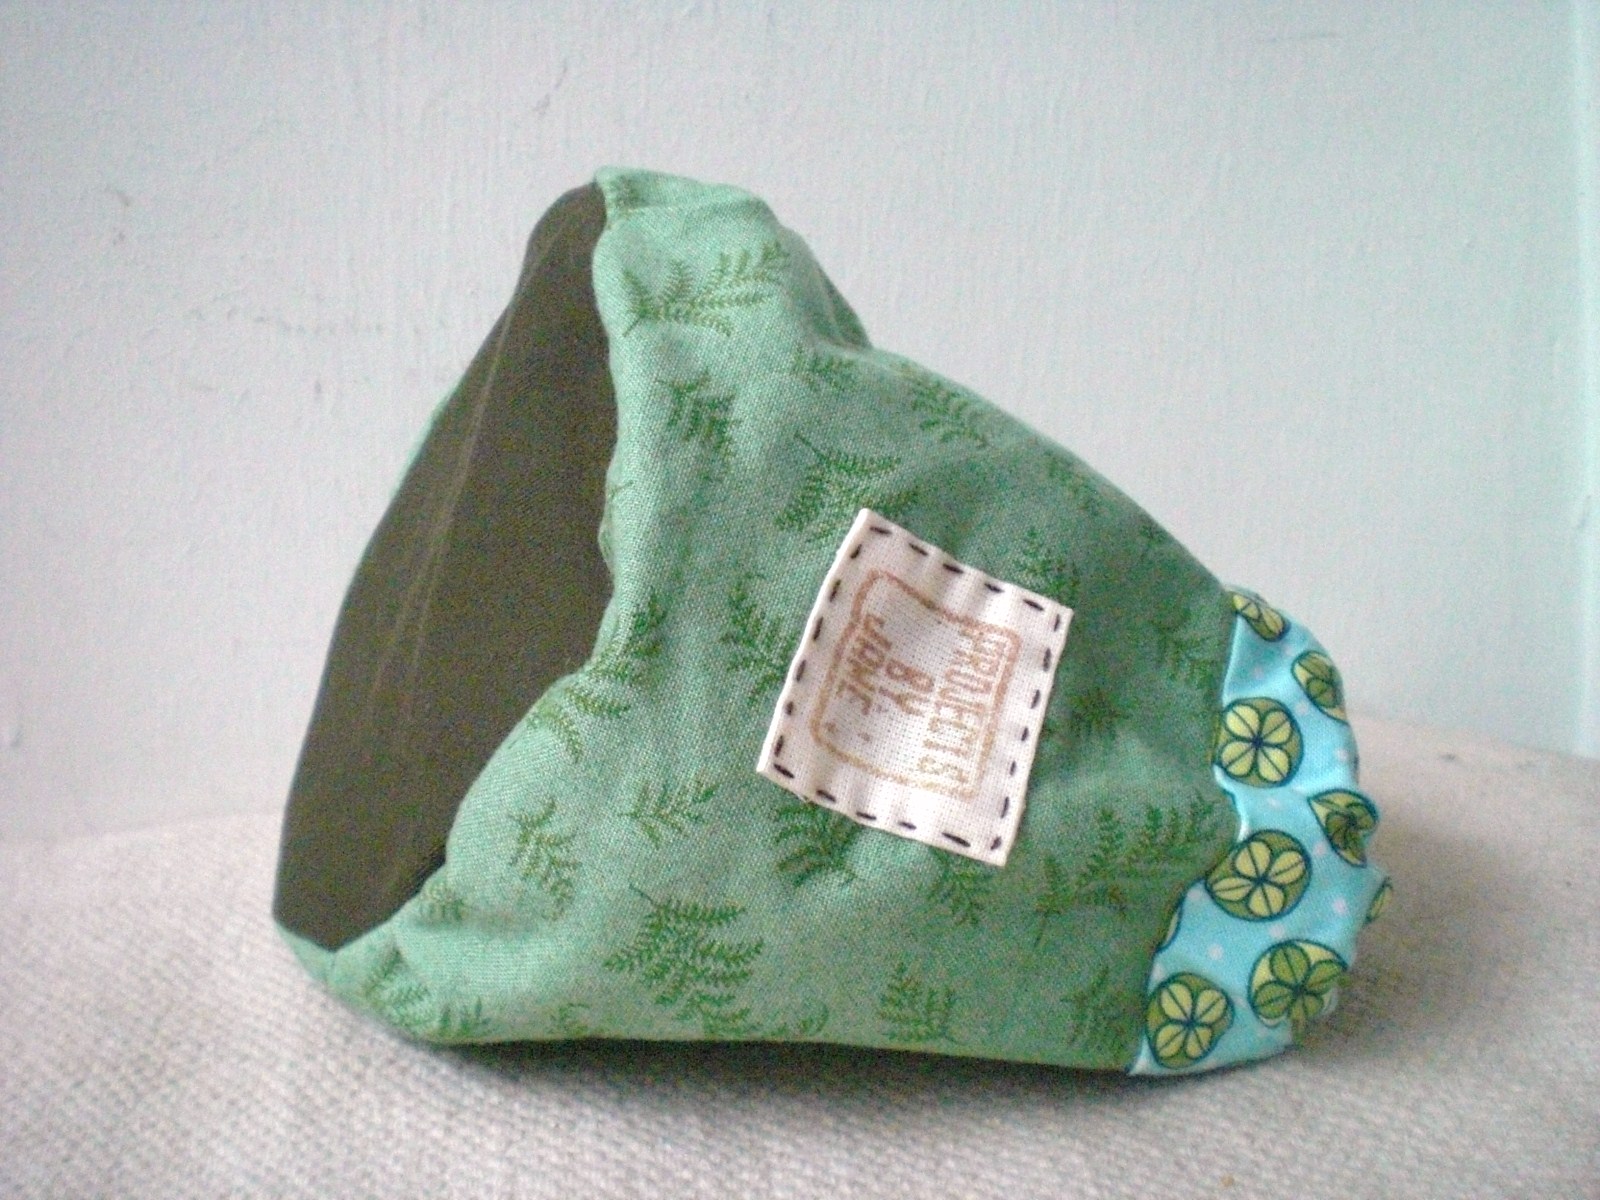
October is nearly over. Yay! Next weekend, 6th to 7th November, I'll be back at red dot design museum selling my bags. Although I had a lot of time, I didn't make many bags. I just didn't feel inspired. For the past few days I've been busy making what I call Perfect Size Drawstring Pouches. The last few times I made drawstring pouches for sale, I had many requests for a smaller version. It seems women don't want their drawstring pouches to be huge like I imagined. I used a regular size wallet, key pouch, handphone and a packet of tissues for sizing. I'm imagining these are the essentials that every woman needs to carry with her. Here they are.
Guess how many I made?
You may recognise this fabric. It's apples print by Michael Miller. I kept the bag design very simple and functional.
 The inside.
These are all you need to carry around, ladies.
There's room to spare! You could throw in a lipstick, compact or whatever you  can't live without.
You know I was feeling kind of grey, so I had a ball with the fabric matching. This is the best part of sewing. Going thru' your stash and mixing and matching.
This clover print by Patty Young for Michael Miller you've seen before. I love it so I'm gonna use it till I have nothing left.
I think the colour combo is fabulous. Yes, I'm praising myself.
There's something very calming yet dazzling about this hard to describe blue fabric by guess who? Michael Miller again!
It's also extremely hard to match.
MoMo MoMo MoMo....
A blue-grey lining for this MoMo.
Who can resist a pink MoMo?
Another fabric you recognise? Apples and Pears by Alexander Henry. The lime green leaves called out to me.
I had the perfect lining in green and white gingham.

Pigs linen-cotton print.
 Some colour to spice things up inside.
The perfect bottom!
Are you salivating over this little red riding hood print by Kokka?
Of course the bottom had to be red.
I saw green for the lining. What colour did you see?
I think this is the first Amy Butler fabric I've ever used.
I saw orange for the bottom. What colour did you see?
This is a kokka print. It is delightful.
I saw purple for the lining. What colour did you see?
Of course the bottom had to be purple.

That's right. I made a total of 10 perfect size fat bottomed drawstring pouches. I'll be selling these at MAAD 6th to 7th November. Hope I got the size right. Otherwise I'll have 10 of these  pouches sitting around. Bye.

Monday, October 25, 2010

A Bag Is Born

For the past few days I have been obsessing over the construction of my sports bag inspired bag.
Remember this bag? I made it in April 2010. It is constructed the same way as the Rainbow Bag which is done in a very complicated way where the outer fabric and the lining are sewn together. At some point, the entire bag has to be squashed flat like a pancake in order to complete the construction. That's fine as long as your fabric isn't thick and the gusset is not wide.

So I wanted to find another way to construct these sports bag inspired bags without any limitation on the size of the bag. Yes, I want to make these bags even BIGGER. Anyhoo, after days and days, I've finally come to a compromise method. I know I'm just babbling and you don't know what I'm talking about. But the bag is finally done and what I'm gonna show you isn't pretty.
The unglam side of a bag. This is what the bag looks like on the raw side. I've sewn only certain portions of the outer fabric and lining together.
Now we push the "baby" out through the gap, much like giving birth, eh? Gosh, I'm so gross today. Speaking of giving birth, my 2 kids were a result of C-section. So I've NEVER experienced labour pains and I have no real idea what PUSHING means.
We're almost there! Can you see a little of the outer fabric?
It's a GIRL!
And I used Ikea fabric again. It's similar to the Rainbow fabric but has fewer colours.
Plus, I used piping on the bag. Can you tell? The haze and thunderstorm in Singapore is making it very hard to take photos. More of these big babies coming up soon. See you.

Sunday, October 24, 2010

Do You Know How To Wind The Bobbin?

Today I want to share with you how to wind the bobbin to achieve tightly wound thread. If you are a professional sewer or sew regularly, you already know how to do it. This is more for the new sewers. This method is only applicable to bobbins which have tiny holes on them.
Step 1: Insert the thread through the hole on the bobbin by threading from the inside to the outside. My fingers are holding on to the free end of the thread.

Step 2: Hold on to the free end of about 6" of  thread held above the bobbin. Start the spinning of the bobbin for a few turns. Cut the 6" of thread close to the hole on the bobbin. Continue spinning the bobbin until it is full.
This is what you will get. Perfectly wound bobbin thread.

Wednesday, October 20, 2010

More Rainbow

Today around 5pm, I stupidly put on my orange socks and my spiffy Adidas running shoes thinking I'll do a few rounds around the park before dinner. Ugh! The air stank and it was foggy. I had forgotten about the haze! I immediately abandoned my plan to do any outdoors activity because I have 1 sensitive nose. Okay, I did not immediately abandon my plan. I walked all the way to the park thinking it might be less stinky there but of course I was wrong.

Yes, the dreadful haze is back. Seems like the fire-starters at Sumatra are burning their forests again! I wonder why the authorities are so powerless? This happens EVERY YEAR!

Right, on to more pleasant stuff. I was wondering what to make with the rest of my rainbow fabric and I decided I would make a recessed zipper bag similar to these 2 which I made for October MAAD.
The baby blue version was sold at October MAAD but I didn't manage to sell the red butterfly version. The buyer of the baby blue version is a young girl, I'm guessing a student. She actually noticed the fabric tabs I put at the end of the handles! Yes, this is how I hide the raw edges. I like to use a "surprise" fabric for the end tab.
Before she left, she said to me in Mandarin, jia you! Literally it means to refuel. It's a form of encouragement. I've never had a customer say jia you to me before. I think it's so sweet! Now let's look at my latest bag.
Yes, there's the front pocket. Singaporeans who travel by public transport use a transport card to get around. That's what the front pocket is for.
I didn't want this to be a crossbody bag. I think it's better with a shorter handle.
 The recessed zipper bit.
This bag is all about the wooden ring which is used to control the length of the handle. Can you see the blue fabric tab at the end of the handle?
Doesn't the bag look so comfy? I think the rainbow fabric will make any bag look good. You jia you now, okay? See you soon.

Tuesday, October 19, 2010

The Rainbow Bag

If this bag looks familiar, it is. I've made a similar bag in July 2009. My sis, Elaine owns the bag but unfortunately, the zipper became faulty. Don't you hate it when that happens?

The faulty zipper was bought from Spotlight and hideously expensive. So I'm rather disappointed with the quality. Expensive does not always mean good. Thank goodness I only bought a metre's worth and probably used it on 2/3 bags. Anyhoo, I've since discovered YKK continuous zippers which are far cheaper, wider (!!), stronger and reliable. Plus, the owner of the shop always gives me a discount.

I tried to replace the faulty zipper but it seems I had used a continuous zipper which had a rather narrow width which is no longer sold anywhere.

So I did the next best thing I could think of. I made a new bag, same design with the same fabric but with YKK zipper.
I added 2 pockets to the front.
I love the back. This fabric has so many colours that only white is missing.
This is the inside. I know it looks very plain but with the riot of colours on the outside, I think the owner of the bag would appreciate a little "quietness" when she opens the bag. At least that's what I think. See you soon. Hope the smog clears.

Friday, October 15, 2010

It's Raining Elephant Zippy Pouches

After a long drought, I finally got going again. I started by making an elephant zippy pouch for a customer. Yes, yes, I know I said before I don't do customisation. But this was an easy request which I felt I could fulfill without stress. One elephant zip pouch. How difficult could it be?

As it turned out, the difficulty was in stopping at ONE. I think my brain has a brake malfunction.
I made a total of 7 ELEPHANT zip pouches. I know. When it rains, it pours. Let me show them to you in the order I made them. All the elephants are made from 1 shape with slight variations in the trunk.
This is the elephant zip pouch which started it all. The elephant is embroidered using blanket stitch and the tail, if you're curious is done in stem stitch. Oh, look. It has a detachable strap. Main fabric is cotton drill.
Little Miss Pinky was next. Check out the thread I used on the applique. It's CYAN sashiko thread. Also, I put 2 little pockets inside. Main fabric is cotton drill.
My dear Hesitant Grey Elephant zippy pouch was next. Also done on cotton drill. I got a little bored with the blanket stitches and did the applique needle-turned style with my favourite running stitches running all over the body. I was actually reminded of my mother's sewing when I did this elephant. You see, my mother is not very good at handsewing. Her stitches are uneven and all over the place. When I was living with her, she would hand sew reinforcement stitches on my umbrellas and handles of fabric bags and she would never match the thread to the background. So her stitches would stand out. When I was young, I used to get really embarrassed when anyone points out the stitches to me. Strangely, nowadays I find myself wanting to sew "her style" - without any uniformity, neatness and deliberately not hiding the stitches. So this is what I did with my grey elephant.
Sleeping Red Elephant zippy pouch is really just the same style as Miss Pinky. I just gave it a fancy name. Creativity fatigue was starting to creep in. I used my yellow-green cotton drill this time.
Shy Elephant is totally done using embroidery except for the flower eye patch. Stem stitch, running stitch and blanket stitch. I went mad here. Ooh, check out the lovely Free Spirit yellow flower print I used for the lining. Main fabric is cotton drill yet again.
My High Elephant is really a linen-cotton print done on dark green cotton twill. Why is it high? Ate too many flowers! I don't know. At this point, I think I got a little wacky.
I was still sane here but I knew this had to be my last elephant pouch. Little Miss Exotic Elephant was done in chain stitch with a little running stitch. Main fabric is raw linen.

If you're crazy for elephants, please check them out at my Etsy. I've listed all for sale except the one with the strap.

Oh, 1 last thing. My little helper  propping up the pouch for the inside look is my Nurturing Kimmidoll. See you soon.
Related Posts with Thumbnails

My Bag Pattern Shop

https://www.etsy.com/shop/projectsbyjane

My Applique Patterns

https://www.etsy.com/shop/projectsbyjane?section_id=15580078&ref=shopsection_leftnav_2

My Embroidery Patterns

https://www.etsy.com/shop/projectsbyjane?section_id=15580078&ref=shopsection_leftnav_2